In a recent YouTube growth series, we tried Beanstalk CRF (Controlled Release Fertilizer) to test the viability of using this unique fertilization method with the AutoPot System.
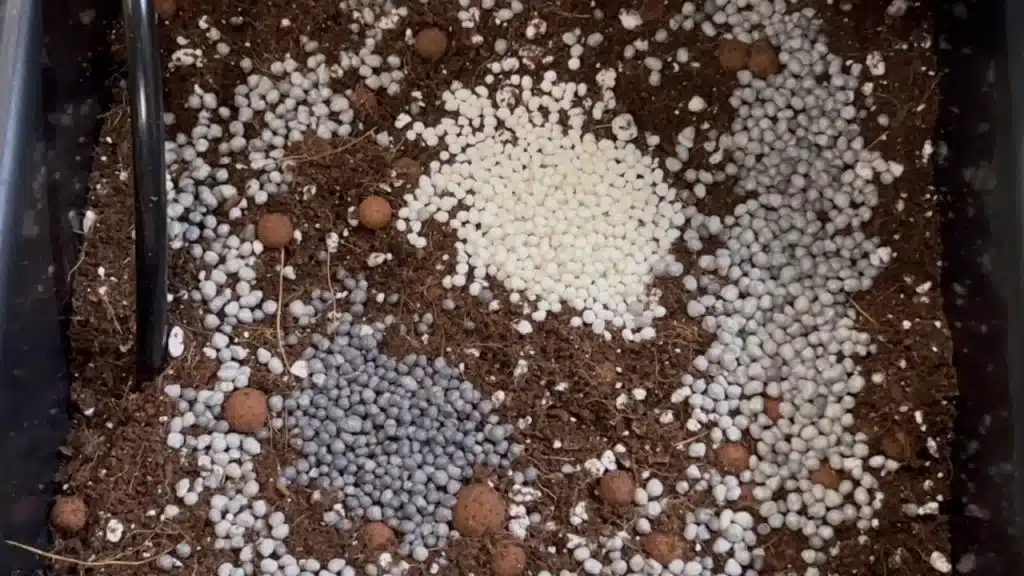
Controlled Release Fertilizers are mineral-based fertilizers enclosed within specialized capsules that release various elements at different times as the coating dissolves. Beanstalk CRF employs a unique porous polymer coating to encapsulate its exclusive fertilizer blend. This coating enables nutrients to dissolve into a solution at a rate equivalent to the plant’s water consumption. This consistent nutrient availability empowers the plant to efficiently utilize the nutrients as and when it requires them. The concept of enabling the plant to access what it needs, precisely when it needs it, closely aligns with the principles of an AutoPot System, which offers plants the freedom to drink as much as they want, whenever they want. With this synergy in mind, the decision to embark on a trial grow with Beanstalk CRF was nothing short of a logical choice!
The goal of the trial was to see if we could use a CRF fertilizer in an AutoPot with only water in the reservoir. If successful, it would make growing in an AutoPot even easier, as we would eliminate the need for mixing, measuring, and monitoring nutrients. Beanstalk is mixed into the substrate when you fill the pots and feeds your plants throughout their entire life cycle.
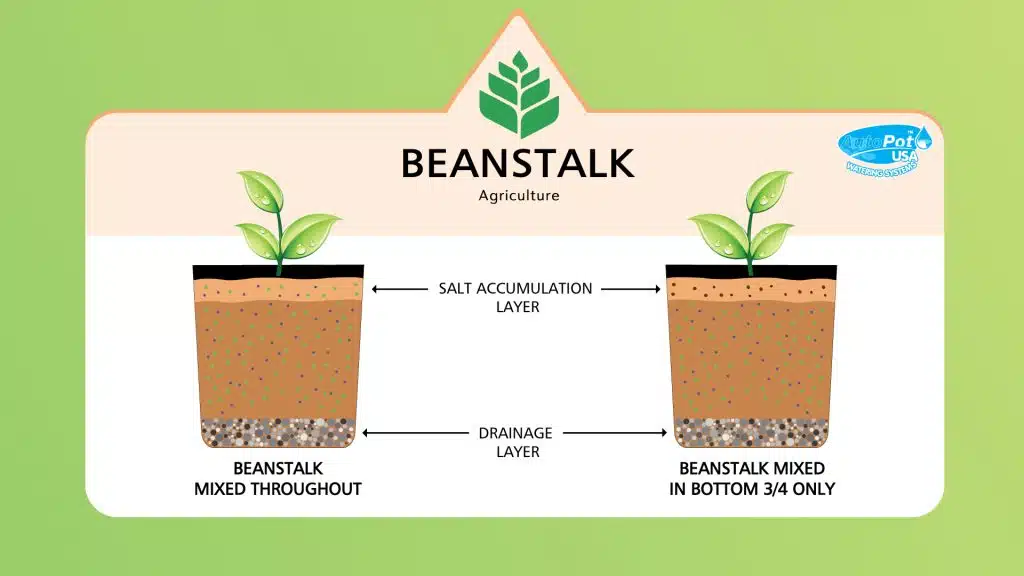
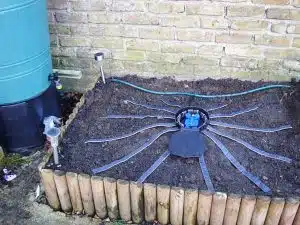
Before we started the process, we had to understand an important concept of an AutoPot system. In AutoPots, the top few inches of the substrate are designed to remain dry because that’s where residual salts end up at the end of the grow via capillary lift. Salts continue to wick upwards throughout the grow cycle and end up in this area where roots are not present, serving as a ‘flush zone.’ This is why it’s essential never to feed from the top after you turn the system on if you’re using mineral-based fertilizer. It will push those salts that have accumulated in the top few inches back down into the root zone and cause your plant to overfeed. On the contrary, if you’re using something like living soil, this concept is not relevant, and you can even add a moisture barrier at the top (mulch, a pot cover, or something similar) to utilize every inch of the soil in the pot. This just highlights the many different uses of an AutoPot System.
You can watch the full series on our YouTube channel here.
Back to Beanstalk… We had to determine whether we wanted to mix the Beanstalk throughout the entire pot (in the wet and dry zones) or just in the bottom ¾ where it stays saturated with dense root growth. In the end, we thought, why choose? So we did both! More on this later.
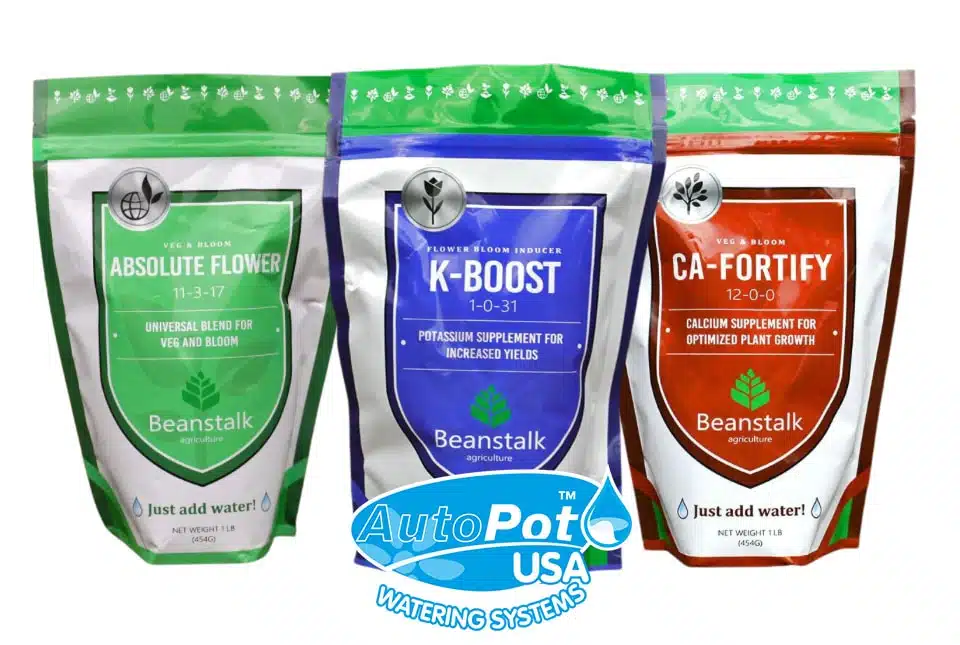
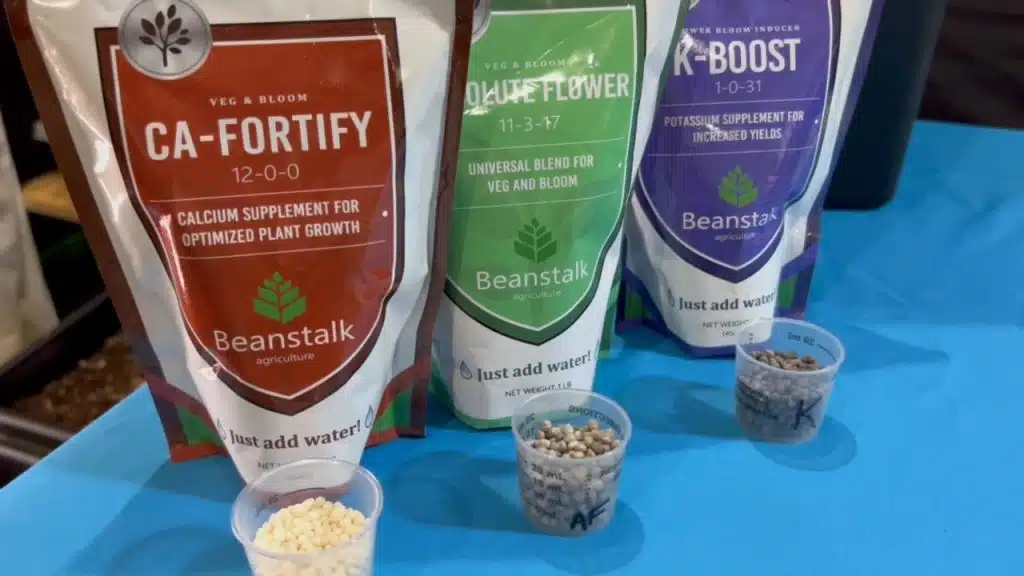
Here are the rates at which we added Beanstalk to each pot, regardless of which method we chose:
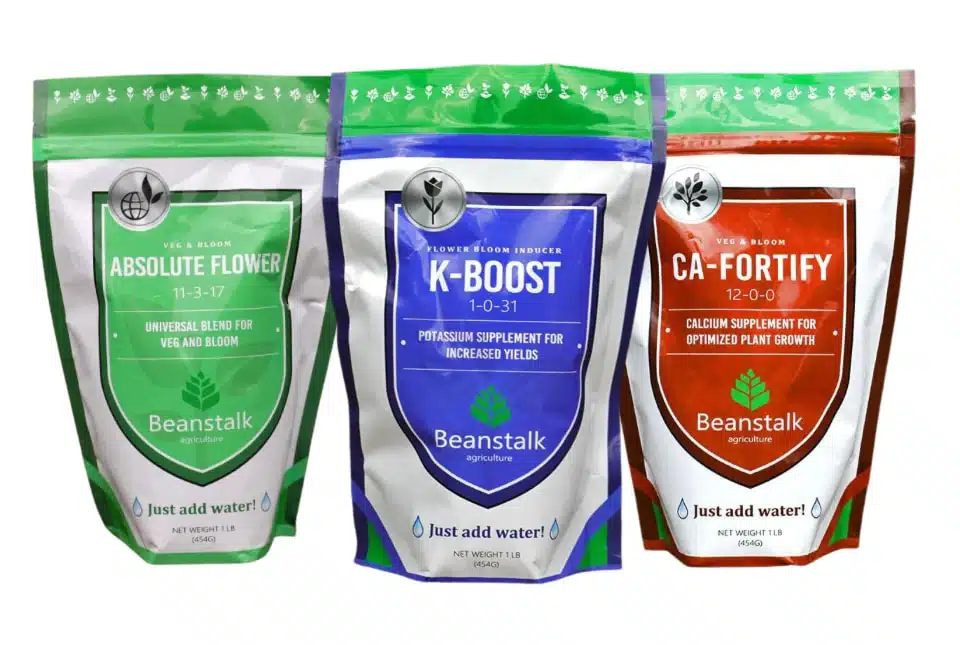
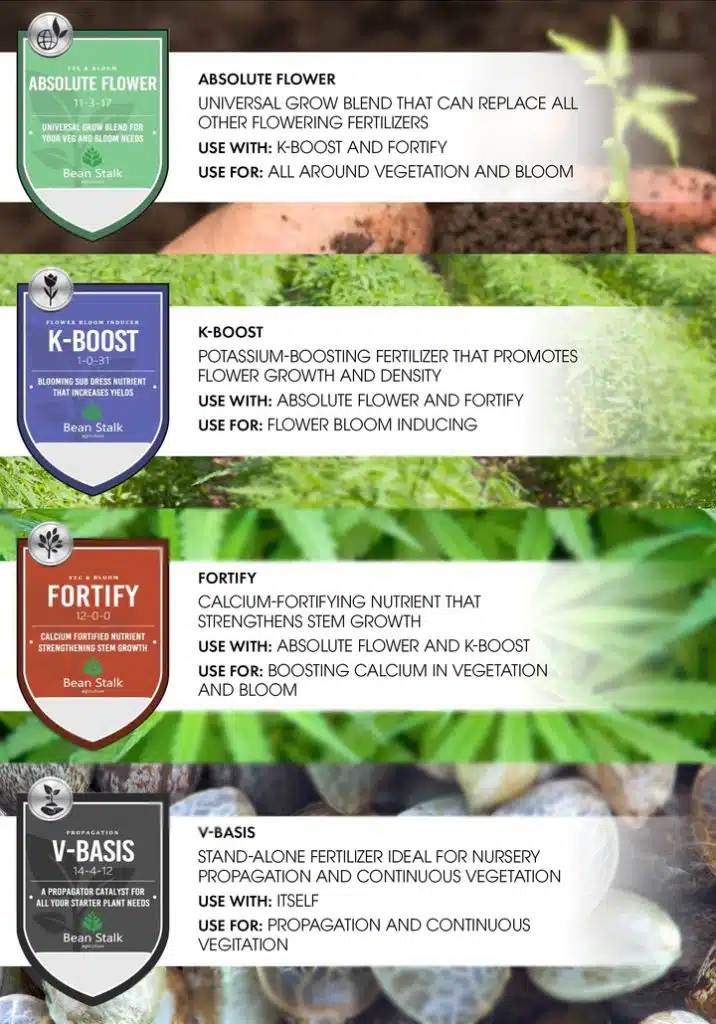
• Absolute Flower: 15 grams per gallon (60 grams total for a 3.9-gallon pot)
• CA-Fortify: 5 grams per gallon (20 grams total for a 3.9-gallon pot)
• K-Boost: 5 grams per gallon (20 grams total for a 3.9-gallon pot)
In addition to Beanstalk, we used our favorite rooting additive, Regenaroot from CX Horticulture, at a rate of 4 ml per gallon throughout the veg and bloom stages. This product is very clean, pH stable, and easy to use. It always helps to use a rooting stimulator to help your plant establish a healthy root zone and keep it that way.
You can watch the full series on our YouTube channel here.
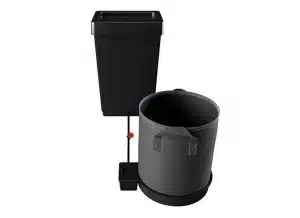
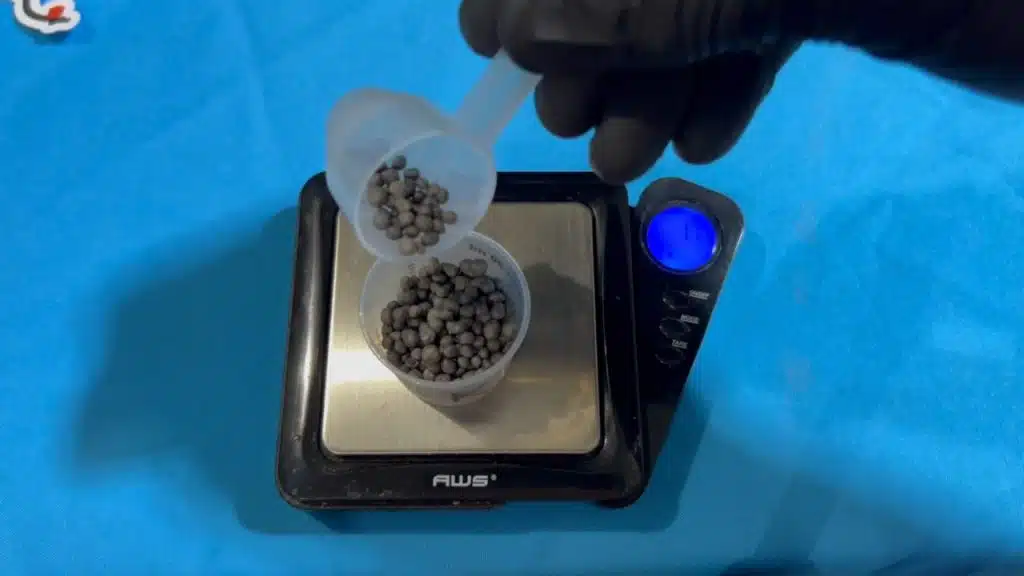
We first filled our pots with our substrate blend of coco + clay pebbles/perlite. We like to use a light, well-blended substrate with AutoPot, as that maximizes the system’s performance. Anything too heavy can cause oversaturation. Once we filled our pot to the desired height with our blended substrate, we weighed out our Beanstalk and dumped each product into the pot. Then, while wearing gloves, we mixed everything to evenly distribute the Beanstalk throughout the pot.

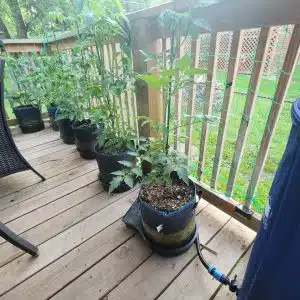
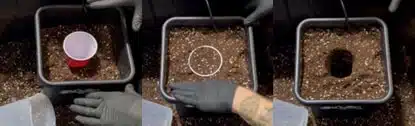
After mixing the Beanstalk into our blended substrate, it was time to pot up. We potted up our plants using the solo cup method, which involves placing the exact same cup you’re using for your seedling into the substrate, packing it down, and then removing it so you have the exact-sized hole needed for a smooth transplant.
After we potted up our plants, we top-fed for 7-10 days to establish our root zone before turning on the system. Once we turned on the system, it was smooth sailing the entire time. Throughout the entire grow, very little needed to be done from week to week since we didn’t have to mix a full line of nutrients, check EC, or worry about feeding schedules. We were honestly surprised at how well the product performed and the quality of the plants, considering how easy it was!
You can watch the full series on our YouTube channel here.
Benefits of Beanstalk: