AutoPot 4/20 Sale! 20% off site-wide from 4/18 – 4/20 with code ‘420’
Please note: Shipping will take longer than normal during sales due to higher order volumes. Thanks for your patience!
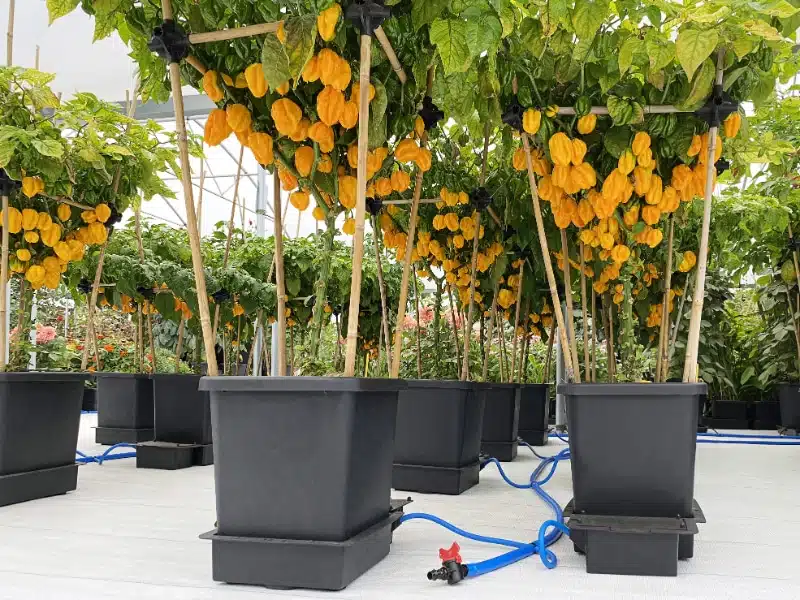
Power Free, Zero Waste Automatic Watering Systems.
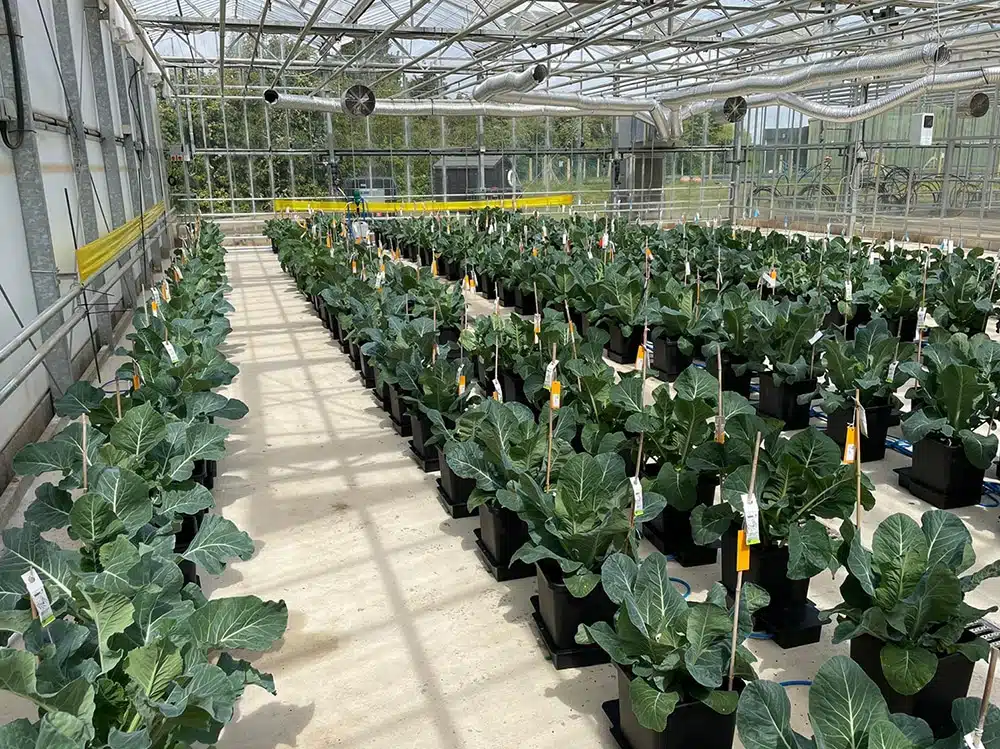
By design our power-free, zero waste, low maintenance systems help you to maximise the return on your investments. As they require no electricity, mains water, or drainage, AutoPot Watering Systems allow you to utilise all of your available space whilst minimising the cost of inputs.
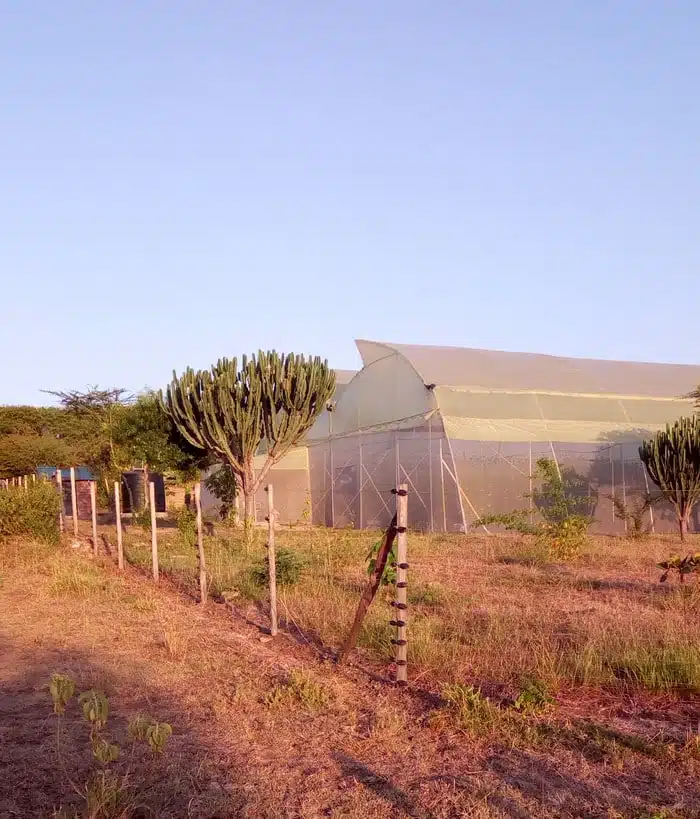
From the U.K. to Mauritius, from the Maldives to the Middle East, from the Arctic Circle to Central Africa, our systems are proven to produce in virtually any environment, with virtually any plant type. Economically and ecologically AutoPot represents a safe, sustainable solution that, given the rising pressures and costs of utilities, couldn’t be more timely.