

Reignite Your Love for Fresh Food: Grow Microgreens the Easy Way with Tray2Grow
If you’re looking to fall back in love with food—or just want to add a powerful punch of flavor and nutrition to your meals—microgreens are the way to go. These young seedlings of herbs and veggies are small in size but huge in taste, color, and health benefits. They’re fast-growing, easy to cultivate, and absolutely packed with flavor.
With just a little space, light, and some seeds, you can grow enough microgreens at home to top your salads, sandwiches, and snacks. But if you’re curious about scaling up, experimenting with different varieties, or just want more reliable results without daily watering—AutoPot’s Tray2Grow system makes it all easier and more efficient.

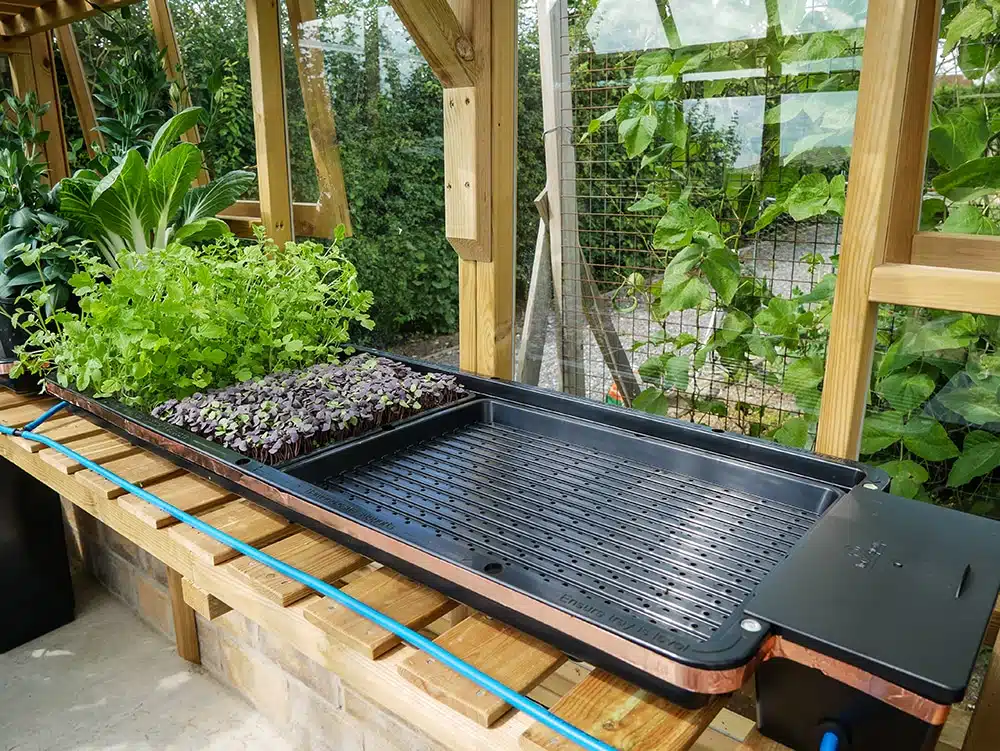
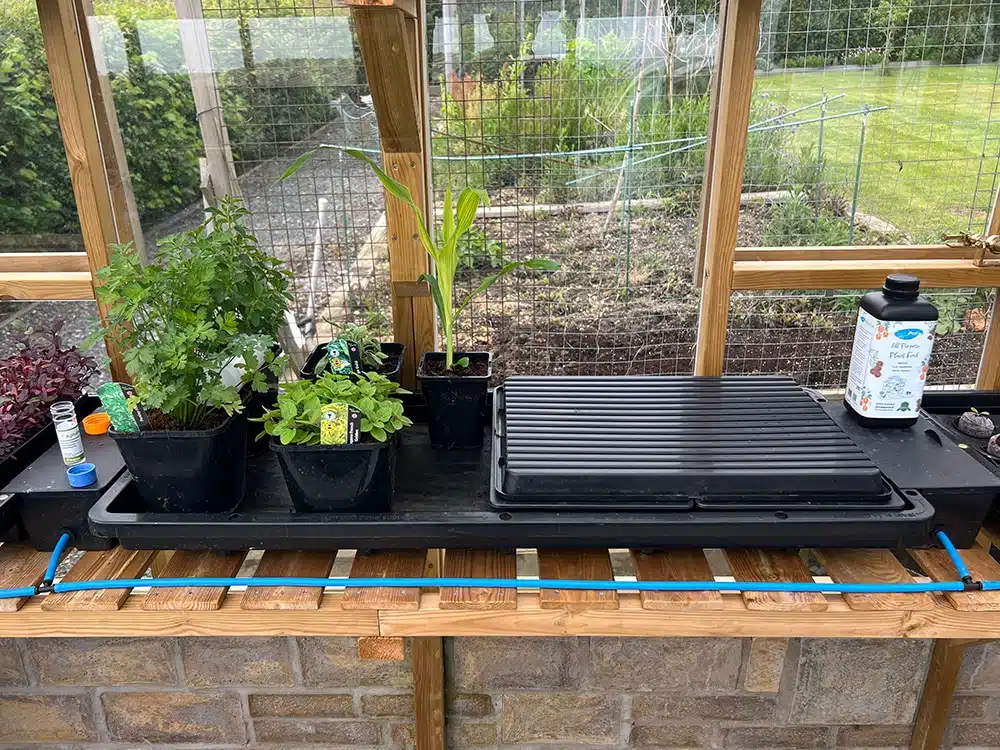
The Tray2Grow System is a fully automated, gravity-fed watering system that takes the guesswork—and the daily hassle—out of growing. It doesn’t need electricity or running water. Instead, it uses the power of gravity and a smart valve (the AQUAvalve5) to deliver just the right amount of water, exactly when your plants need it. That means no overwatering, no underwatering, and no stressing.
For microgreens, that level of control leads to faster germination, healthier growth, and more consistent harvests—whether you’re just growing a few trays in your kitchen or setting up a mini-farm in your garage.
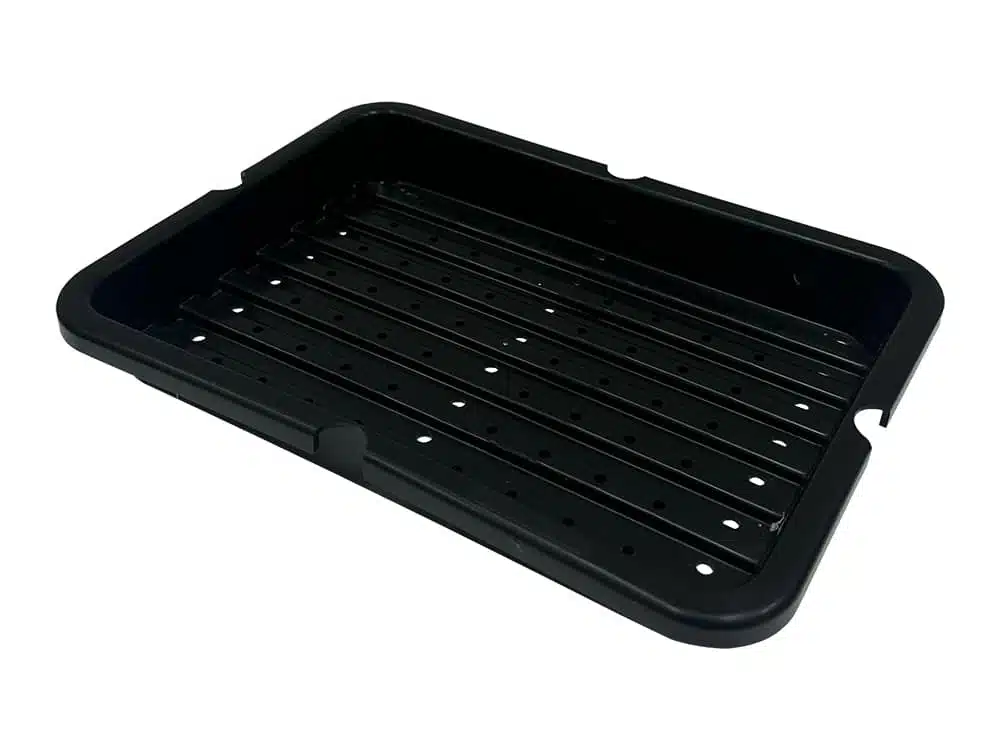
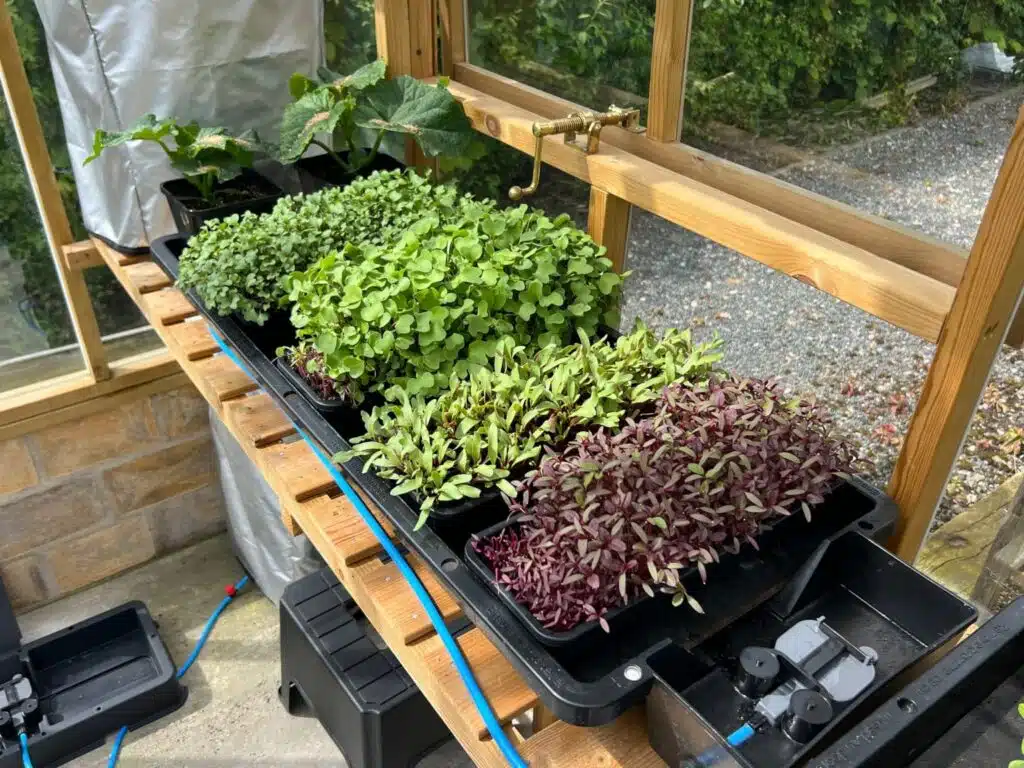
Choose the capillary matting setup for growing microgreens. AutoPot offers two sizes of microgreen trays:
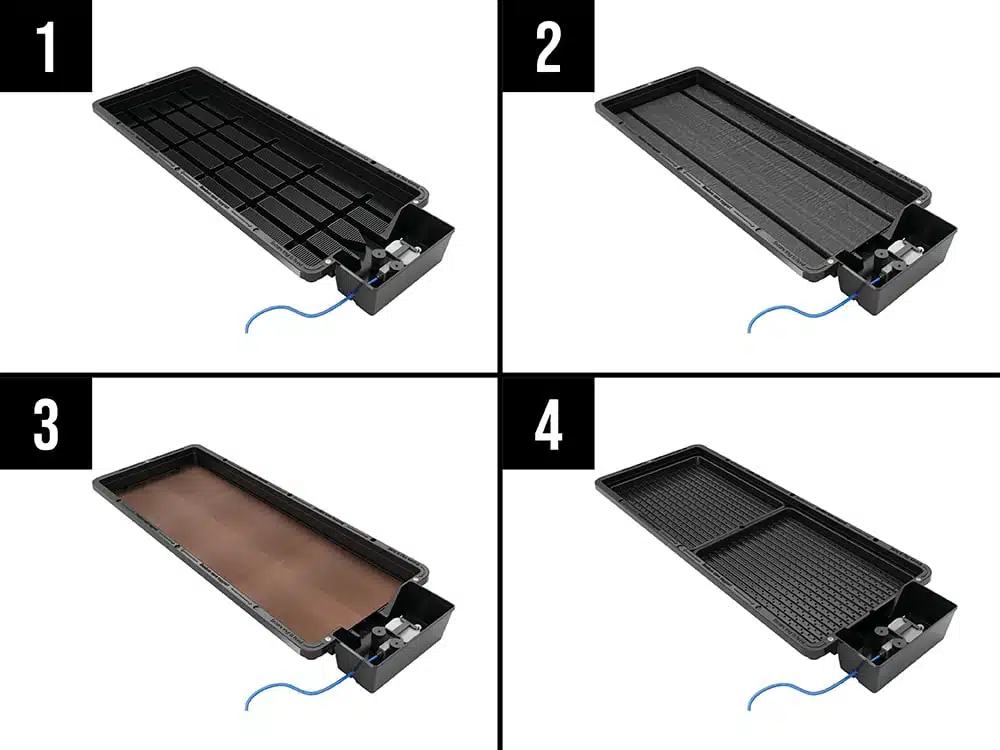
Each Tray2Grow platform holds up to two large trays or eight minis. These trays are specially designed with precision perforations that allow just the right amount of water to wick up through the media, thanks to the capillary mat underneath.
Microgreens can grow in a variety of media. Some top choices include:
We’ve found that high-quality coco coir delivers some of the most vigorous, flavorful harvests.
Larger seeds like peas or sunflower may benefit from a short soak (4–8 hours) before sowing. Smaller seeds like basil, radish, or broccoli can be sown dry.
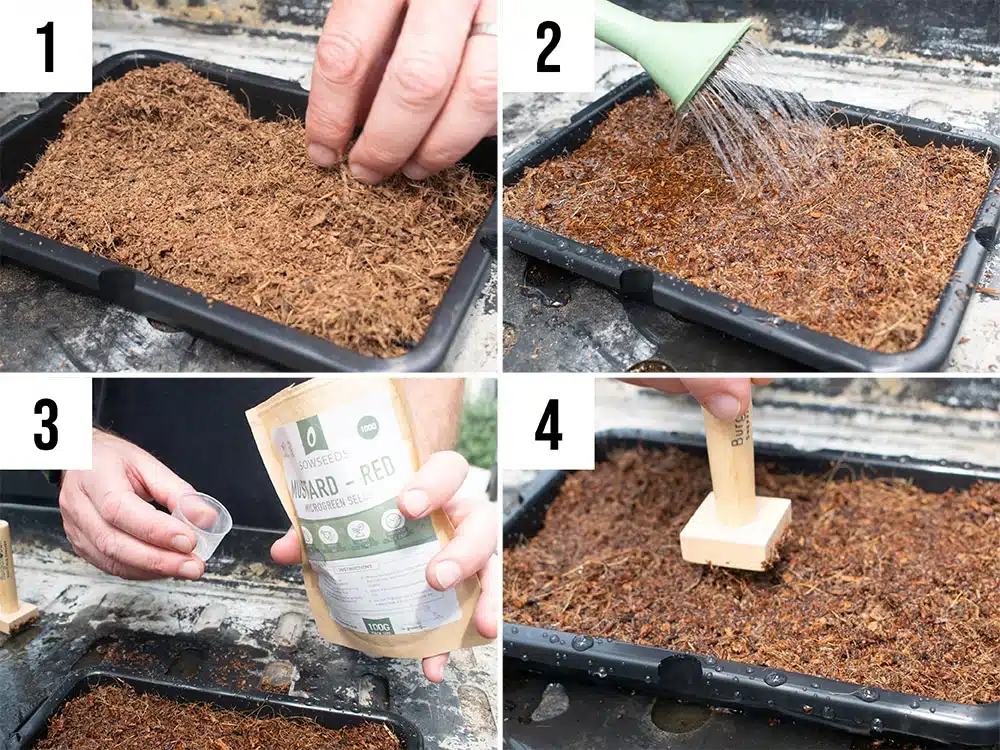
Here’s how to load your trays:
Once prepped, place your trays directly on the root control sheet in the Tray2Grow system.
This is where Tray2Grow shines. The system uses capillary action to draw moisture up from the reservoir into the grow media. The AQUAvalve5 only releases water when the media dries out slightly, ensuring your microgreens get exactly what they need—no more, no less.
You can run either mineral or organic nutrients in your reservoir for added flavor and growth. Just make sure to keep your solution mild—microgreens don’t need strong feeding.
To help your seeds sprout properly:
After a few days (depending on the variety), you’ll see sprouts. At this point, it’s time to introduce light—preferably from a T5 or LED grow light, or a bright windowsill if you’re growing indoors.
One cool trick: place a Microgreens Training Tray on top of the sprouts after germination. This adds a bit of resistance as they grow—kind of like weightlifting for plants. The result? Thicker stems, stronger structure, and better post-harvest shelf life.
When your greens start to lift the tray, remove it and let them green up in full light.
Most microgreens are ready to harvest 7–14 days after sowing. They should be:
Use scissors or a sharp knife to snip just above the media. You don’t need to harvest everything at once—microgreens can stay fresh in the tray for a few extra days or be stored in a sealed container in the fridge for up to a week.
Pro tip: Harvest gently to avoid disturbing neighboring roots if you plan on staggered cuts.
One of the biggest perks of Tray2Grow is its versatility. With the same base system, you can easily switch between:
Whether you’re growing leafy greens, strawberries, tomatoes, or radishes—Tray2Grow adapts to it all.
And because it runs without power or plumbing, it’s perfect for off-grid setups, patios, greenhouses, or even a sunny kitchen corner.
If you just want to utilize the Tray2Grow System to grow microgreens, check out the Tray2Grow Slim Kit – Microgreens Edition.
If you want the power of five ways to grow, check out the Tray2Grow Standard Kit and the various accessories.
If you’re serious about microgreens—or just want to grow more with less effort—Tray2Grow is a total game-changer. It’s efficient, flexible, and perfect for home growers who want pro-level results without babysitting their plants.
Check out the full Tray2Grow lineup, nutrient options, and accessories at AutoPot USA, and tag us on Instagram using #GrowWithAutoPot—we’d love to see what you’re growing.
Set Up the System:
Sow Your Seeds:
Add Weight + Block Light:
Germination in the Dark:
Introduce Light:
Turn on Tray2Grow: