Maybe your plants are finishing strong. Maybe you’re wrapping up the season and already planning the next run. Either way, there’s one task that quietly determines how well your future grows perform:
Keeping your AutoPot system clean.
AutoPot systems are loved because they’re hands-off, gravity-fed, and incredibly reliable. But like any irrigation setup, nutrient salts, minerals, and organic residue can slowly build up in reservoirs, tubing, trays, and valves if they’re ignored. When that happens, performance suffers and flow slows, valves stick or problems creep in that didn’t need to exist in the first place.
A clean system feeds more accurately, requires less labor in between grows and creates a healthier root environment. The good news? AutoPot cleaning is simple, and a little effort goes a very long way.
Why Cleaning Now Pays Off Later
Your system just carried you through a full grow cycle. It deserves some attention.
Leftover salts and biofilm don’t magically disappear between runs. They harden, clog, and degrade components over time. Cleaning now prevents:
It also saves you from scrubbing ten times harder at the start of the next season. Starting fresh, knowing every water path is clean, is one of the easiest ways to set yourself up for success.
Simple System, Simple Maintenance
One of AutoPot’s biggest strengths is how easy it is to maintain. There’s no electricity, no pumps, no timers, and no recirculation. That means cleaning and servicing the system is straightforward and forgiving.
Before diving into a full teardown, it helps to think about two levels of maintenance:
Routine Maintenance (During a Grow)
You don’t need to overdo it. Many growers find that light, consistent maintenance prevents nearly all buildup issues.
Pro tip: If your system is feeding evenly, trays are cycling correctly, and there are no odors or flow issues, you’re doing it right. Don’t fix what isn’t broken, just stay consistent.
Deep Cleaning Between Grows
When a cycle ends, that’s the time to reset everything properly.
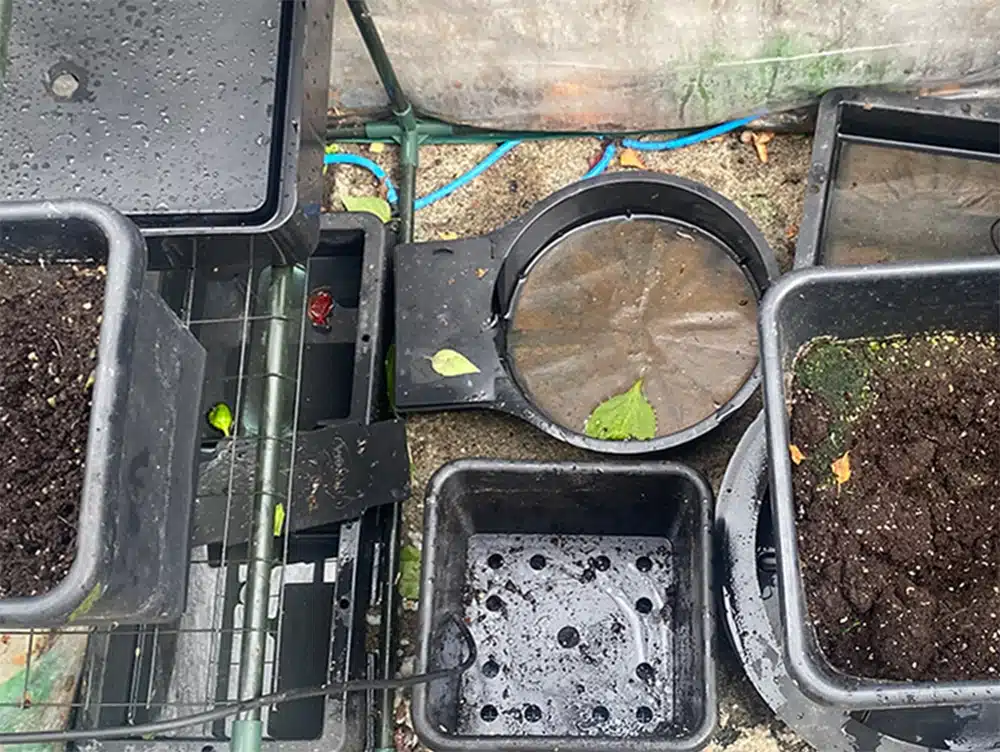
Break the System Down
Disassemble trays, valves, tubing, reservoir fittings, filters, and grommets. Cleaning parts individually is far more effective than trying to flush everything assembled.
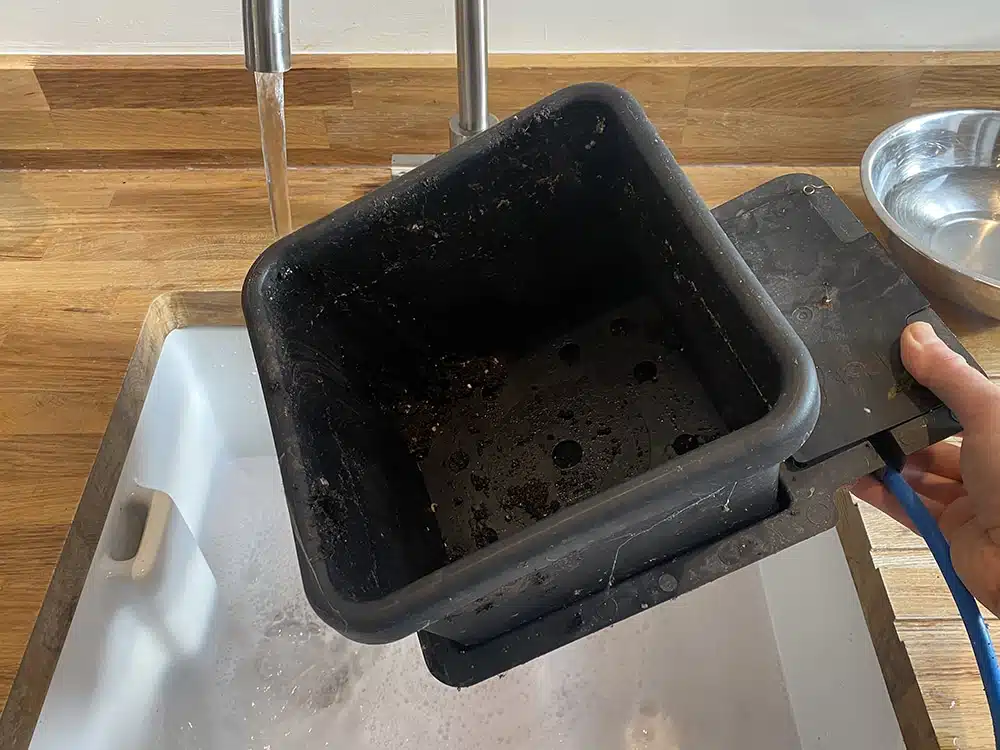
Reservoirs: Disconnect & Clean
Never drag a reservoir full of water across the floor water weight and friction can damage it over time.
Clean with warm soapy water and a gentle brush, then rinse thoroughly. Remove and clean any internal filters or pipework.
Filters
Filters should be cleaned regularly during a grow, so end-of-cycle cleaning is usually quick.
Inline filters may be replaced every few years, while models with replaceable filter media can be refreshed easily.

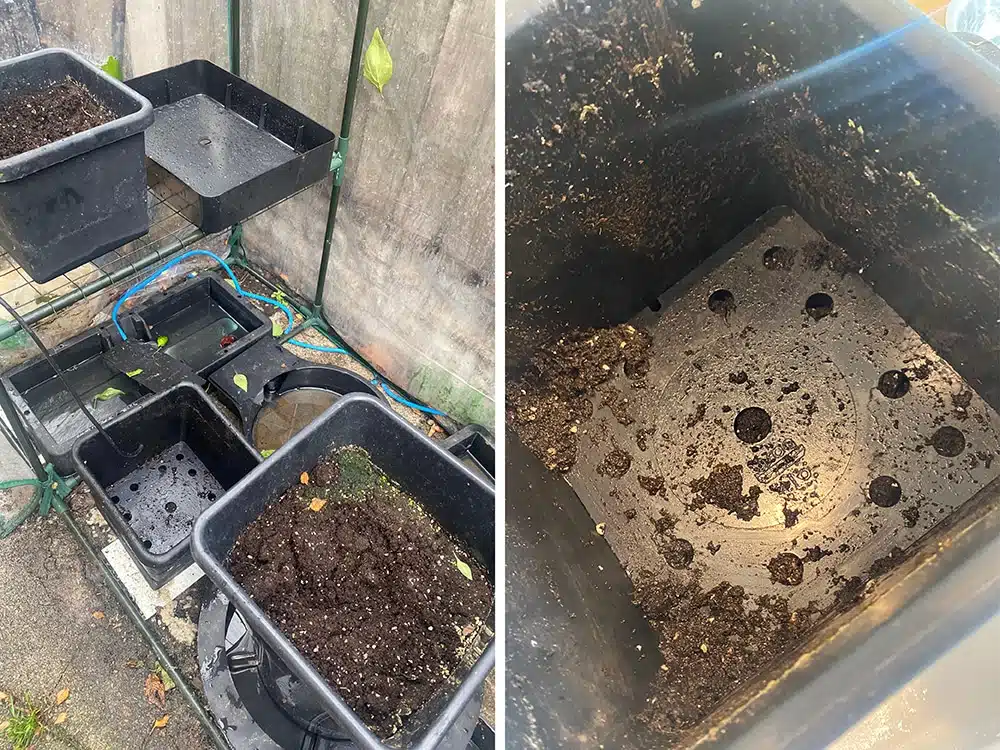
Pots, Trays & Root Control

Wash trays and pots with warm soapy water, lightly scrub, and rinse. Everything stacks neatly for compact storage.
Pro Tip: You can run your pots and trays through the dishwasher to save yourself some scrubbing. We recommend a good soak before to loosen up any residual salts or biofilm.
Root Control Material:
The copper coating will oxidize off but that doesn’t mean the root control material needs replaced. Generally, once you notice roots growing through the material, that means it’s time to replace them. If reusing, sterilize the material, dry fully and brush clean.
AQUAvalves: The Heart of the System
The AQUAvalve controls all feeding and contains the only moving parts in an AutoPot system keeping it clean is essential.
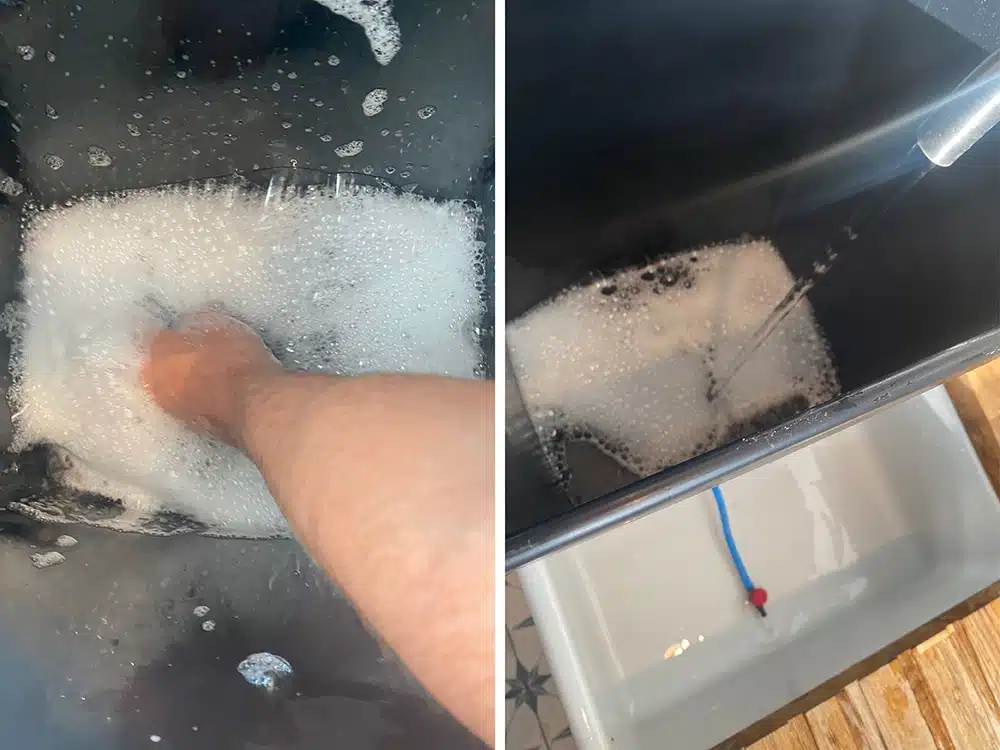
With the AQUAvalve Collar undone, you can remove the pipework from the AQUAvalve. To do this (without damaging the nozzle on the AQUAvalve) we strongly advise you immerse the pipe and the valve in hot water first. Then pull directly apart – avoid twisting / wiggling.
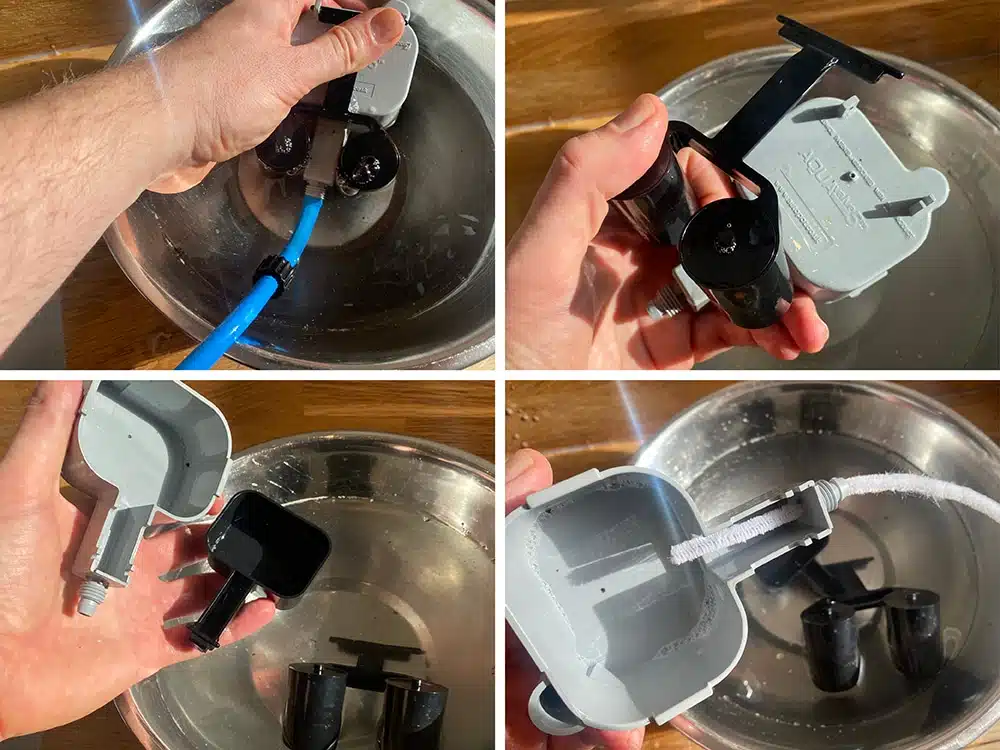
Onto the Floats. Held vertically, the Top Float will slide all the way across and out of its mount atop the Body. The Bottom Float then easily unclips from its pivot position inside. Before you start to clean these, get the Top and Bottom Silicones out and set safely aside. These are easily and inexpensively replaced if necessary, but there’s no sense in losing them on purpose.
The Floats and Body can then be scrubbed using a toothbrush or even placed in the dishwasher. Once clean and dry, blow through the AQUAvalve nozzle or use a pipe cleaner to remove any build up that has occurred. Nothing more forceful is required in cleaning the nozzle, do not even think about using a drill bit to clear anything stubborn. Doing so will potentially damage the AQUAvalve beyond repair.
Cleaning steps:
Never use sharp tools or drill bits on the nozzle as this can permanently damage the valve.
Resetting the AQUAvalve
Putting your AQUAvalve back together correctly is important. You need to get the Silicones properly seated into their little sockets. Failing to do this can throw the whole action of the valve out. The Bottom Silicone goes in pretty straightforward. As long as it’s pushed right in, you’ll be fine. The Top Silicone needs particular attention.
Hold the AQUAvalve5 at eye level so that you can see the Silicone fitted to the Top Float resting on the hole below it. The Silicone must create a tight seal when touching the hole. If it looks like it is not sitting parallel on the hole below, simply lift the Top Float and apply pressure to one side of the Silicone, drop the float and hold at eye level again. Repeat the procedure if necessary. The seal made by this Silicone is essential for the proper filling and draining of the trays.

Pipework & Tubing
Tubing is inexpensive and easy to clean or replace.
Some growers simply replace heavily used tubing each cycle to save time, which is perfectly acceptable.
If reconfiguring the layout of your system snip the pipe ends where they were previously attached to connectors before reconnecting. This ensures a snug fit next time around.
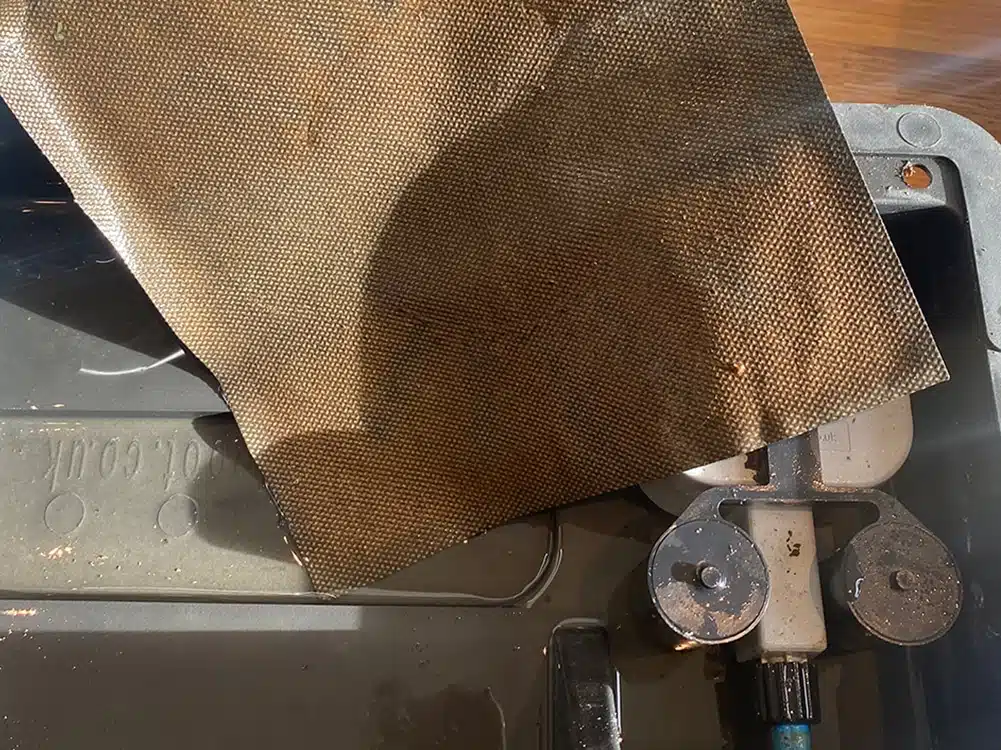
Tray2Grow: Cleaning Capillary Matting
Capillary matting can be reused for many cycles with simple care.
Quick, effective method:
Optional deep-clean options include vinegar soaks for mineral buildup, light baking soda scrubbing, or a boiling water pour-through. Always let mats dry fully before storage or reuse. Do not put in a washing machine or dryer as this can damage the capillary material. Always hand wash and air dry.
Clean mats wick better, stay odor-free, and keep Tray2Grow systems performing like new.
Helpful Cleaning Options (When Needed)
You don’t need aggressive chemicals for routine cleaning, but these tools are commonly used when buildup appears:
Consistency matters more than strength. Hot water and vinegar often do the job when used regularly.
Final Thoughts
AutoPot maintenance doesn’t need to be complicated.
A clean system:
Best of all, it takes very little effort. Clean between runs, stay mindful during the grow, and your AutoPot system will reward you with years of reliable, hands-off performance.
Clean system. Clean start. Better grow.